Master Precise Stage Rigging for Safe Dives
Learn essential techniques for rigging stage bottles tailored to UK cold water conditions, enhancing diver safety and efficiency.

Choose the Right Hardware
Select robust components designed to withstand UK technical diving pressures, ensuring reliable and secure setups underwater.

Optimize Rigging Geometry
Achieve ideal tension and alignment to maintain hose integrity and streamline your underwater profile for smoother dives.

Perform a Cold Water Test
Validate your rig’s performance in realistic conditions to guarantee functionality and safety before actual deployment.
Mastering Stage Rigging for Safe and Efficient UK Technical Dives
Choosing the Right Hardware
Select stage bottles and rigging components designed to withstand UK cold water conditions, ensuring reliability and diver safety.
Optimizing Geometry and Tension
Set precise lines and tension to maintain clean hose retention and streamline underwater maneuvering in challenging environments.
Cold Water Testing and Final Checks
Perform thorough cold water tests to confirm rig stability and function, preventing issues before entering UK technical dive sites.

Stage Rigging Guide
Discover the essential steps to rig your stage bottle safely and efficiently for UK technical diving, ensuring optimal performance underwater.
1
Step One: Selecting Your Hardware
Choose suitable rigging components designed for UK diving conditions, focusing on durability and compatibility to guarantee secure attachment.
2
Step Two: Setting Optimal Geometry
Arrange your rigging to achieve ideal tension and alignment, preventing hose entanglement and maintaining streamlined access during dives.
3
Step Three: Final Testing and Inspection
Perform a thorough cold water test to confirm rig stability and hose retention, ensuring safety and reliability in challenging underwater environments.
Master Stage Bottle Rigging
Gain comprehensive guidance on rigging stage bottles for UK technical diving, ensuring safety and efficiency in challenging underwater conditions.
Selecting Hardware
Understand how to choose the right components for secure and reliable stage bottle setup.
Optimizing Geometry
Learn techniques to achieve ideal tension and alignment for streamlined diving performance.
Safety Testing
Perform cold water tests and maintain clean hose retention to guarantee operational readiness.
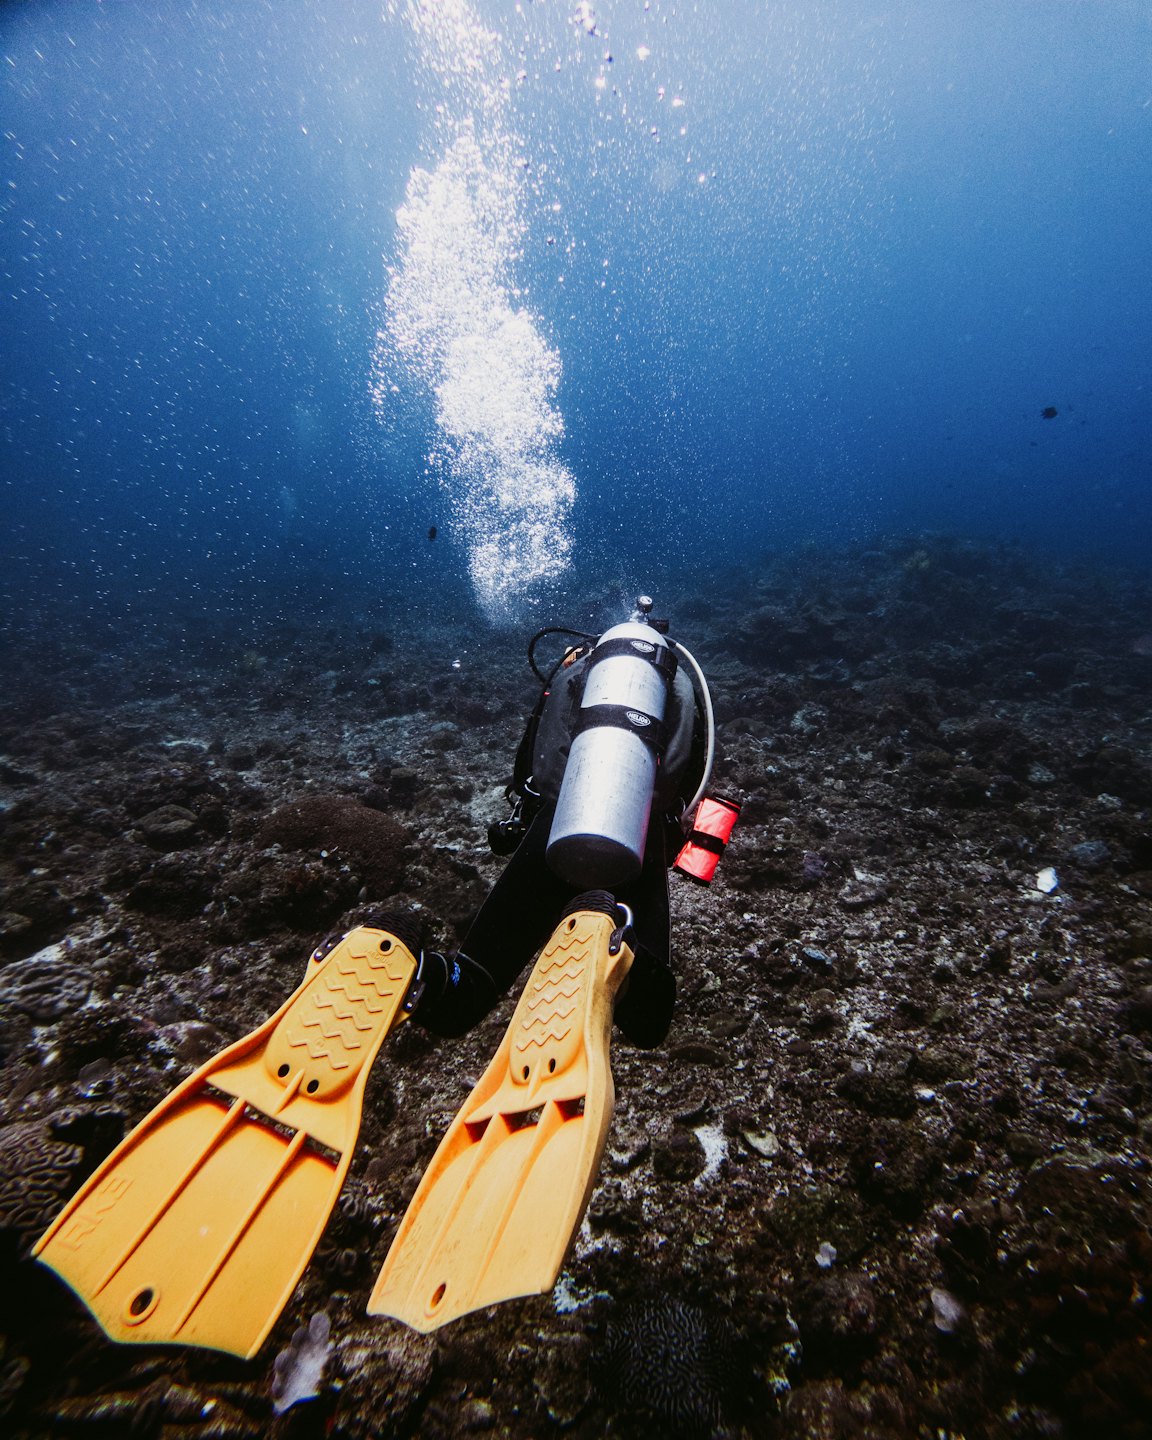
Rigging a Stage Bottle for UK Tech
In the clear, warm waters of Florida, a sloppy stage rigging is untidy. In the UK, it is dangerous. A stage bottle that hangs too low creates drag; one that hangs too loose is an entanglement hazard on wreck penetration; and one with small clips is impossible to jettison with numb hands.
The standard “Ali 80” (11.1L Aluminium) or the UK-specific “Steel 7L” deco cylinder requires a rigid, specific setup to behave correctly in the water.
1. The Hardware Bill of Materials
Do not use pre-made “stage kits” from generic manufacturers unless verified. They often use cheap rope and small clips. Build your own.
- The Clips: Two XL (120mm) 316 Stainless Steel Bolt Snaps with “Big Eyes.”
- Why XL? You need the leverage to open the gate with dry gloves. Standard sizes fail the dexterity test.
- The Line: 6mm Braided Nylon or Polyester Cord. (Do not use 2mm cave line; it cuts into your hand when lifting the tank).
- The Clamp: High-grade Stainless Steel Jubilee Clip (Hose Clamp).
- Protection: Tubular webbing or a piece of old inner tube threaded over the clamp to prevent it from cutting your drysuit thigh pocket.
- The Handle (Optional but Recommended): 15cm of clear plastic reinforced tubing (approx 2cm diameter) to sheath the carry rope. This creates a stiff handle that is easier to find in the dark.
2. The Geometry: Exact Measurements
The goal is a “Tight Rig.” When you hold the cylinder by the valve, the clips should be pulled tight against the tank, not dangling.
Step 1: The Top Clip (Neck)
- Connection: Tie the 6mm cord around the valve neck using a double fisherman’s knot or a bowline.
- Placement: The top bolt snap should be tied extremely close to the break of the neck.
- Measurement: The distance from the center of the valve knob to the bottom of the bolt snap eye should be max 10–12cm.
- Why? If this is too long, the tank nose drops, dragging in the mud and ruining your trim.
Step 2: The Handle
- Thread the cord through your plastic tube/webbing.
- Measurement: The handle section should be roughly 15cm – 20cm long.
- Tension: This line must be rigid. When the bottom clip is secured, the handle should stand proud of the tank, allowing you to grab it instantly.
Step 3: The Bottom Clip (The Tail)
- Placement: This is critical. The bottom clip determines where the tank sits on your hip.
- Measurement: For a standard Ali 80 (S80), the bottom bolt snap eye should be approx. 65cm – 70cm from the neck.
- The “Armpit Rule”: When clipped to your hip D-ring, the top clip should naturally reach your chest D-ring without you having to lift the tank with your shoulder.
Step 4: The Anchor (Jubilee Band)
- Thread the tail of the cord through the bottom bolt snap, then under the Jubilee band.
- Band Position: Place the Jubilee band roughly 2/3rds down the cylinder.
- Tensioning: Pull the cord hard before tightening the screw. The line between the neck and the band must be taut like a guitar string.
- The Knot: Tie a stopper knot (Figure 8) below the band and burn the ends.
3. Hose Retention: The “Clean L”
A dangling regulator hose is the most common snag hazard.
- The Retainers: Use two thick EPDM rubber bands (cut from a car inner tube) or specialized 2-inch wide elastic bands with pull-tabs.
- Position 1: Bottom third of the tank.
- Position 2: Near the neck.
- The Fold:
- Pressurize the hose.
- Route the hose down the side of the tank, under the top band.
- Continue down to the bottom band.
- Fold the hose back up (creating a neat U-bend at the bottom) and pass it back under the bottom band.
- Clip the second stage bolt snap to the Top Bolt Snap (or the D-ring on the neck line).
- Crucial: Ensure the regulator faceplate faces inward toward the tank to protect it from impact.
4. The UK Cold Water Test
Before diving the rig:
- Glove Check: Put on your thickest dry gloves/mitts.
- Clip Check: Can you operate the bottom clip (which is tight against the tank) with one hand? If not, the bolt snap is too small, or the rigging is too tight against the metal.
- Shake Test: Shake the cylinder by the handle. Does the Jubilee band slip? If so, it needs tightening or a grippier rubber strip underneath.
Master the Art of Stage Rigging
Discover detailed visuals illustrating precise rigging techniques for UK technical diving stages.