
Your cart is currently empty!
Bolt Snap Health Check

Essential Checks for Reliable Bolt Snap Performance
Discover vital tips for inspecting bolt snaps to ensure safety and functionality, tailored for UK diving conditions to keep your gear dependable underwater.

Crunch Test: Listen closely for smooth, consistent clicks when engaging the snap.
Lazy Gate Check: Verify the gate closes fully without hesitation or sticking.
Side-Wiggle Assessment: Gently wiggle the snap side-to-side to detect any looseness or play.
Rust Inspection: Examine all metal parts carefully for corrosion or signs of wear.
Bolt Snap Health Check Guide
Explore essential tips and tests to ensure your bolt snaps perform reliably and safely in UK dive conditions.

Crunch Test
Assess the snap’s gate movement to detect hidden stress points and potential failures.
Lazy Gate Check
Verify smooth opening and closing to prevent accidental releases underwater.
Rust Inspection
Identify corrosion signs early to maintain equipment integrity and diver safety.
Bolt Snap Health Check
Discover essential tests to verify the safety and reliability of your bolt snaps before every dive.

Step One: The Crunch Test
Apply pressure to the bolt snap gate to ensure it closes firmly without sticking, confirming smooth operation.

Step Two: Lazy Gate Check
Observe the gate’s natural closure speed to detect any sluggishness or hesitation that may indicate wear.

Step Three: Side-Wiggle Assessment
Gently wiggle the gate sideways to identify looseness or potential failure points in the mechanism.
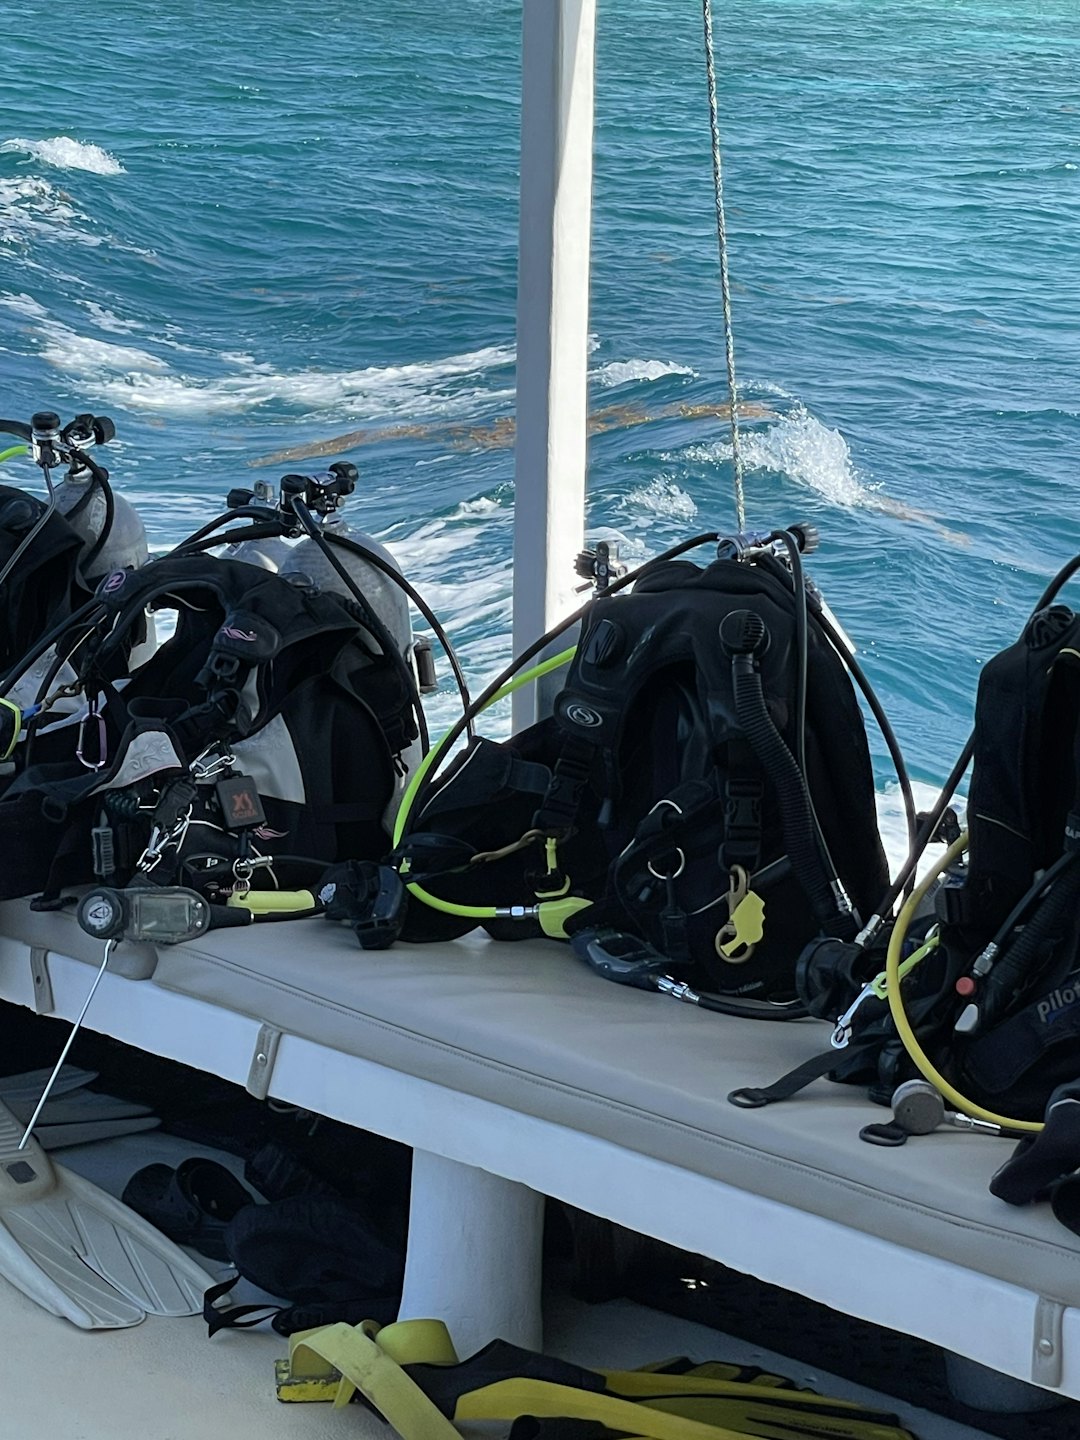
Heavy Metal: The Tech Diver’s Guide to Rigging
Top Tips: Checking Your Springs (The Bolt Snap Health Check)
A bolt snap is a simple mechanical device holding life-support equipment worth hundreds of pounds. When a spring fails, it usually happens in one of two ways:
- The “Open Fail”: The gate sticks open, and your stage cylinder falls to the seabed (or onto a wreck 40m below).
- The “Seized Fail”: The gate refuses to open, trapping you attached to a shot line or reel.
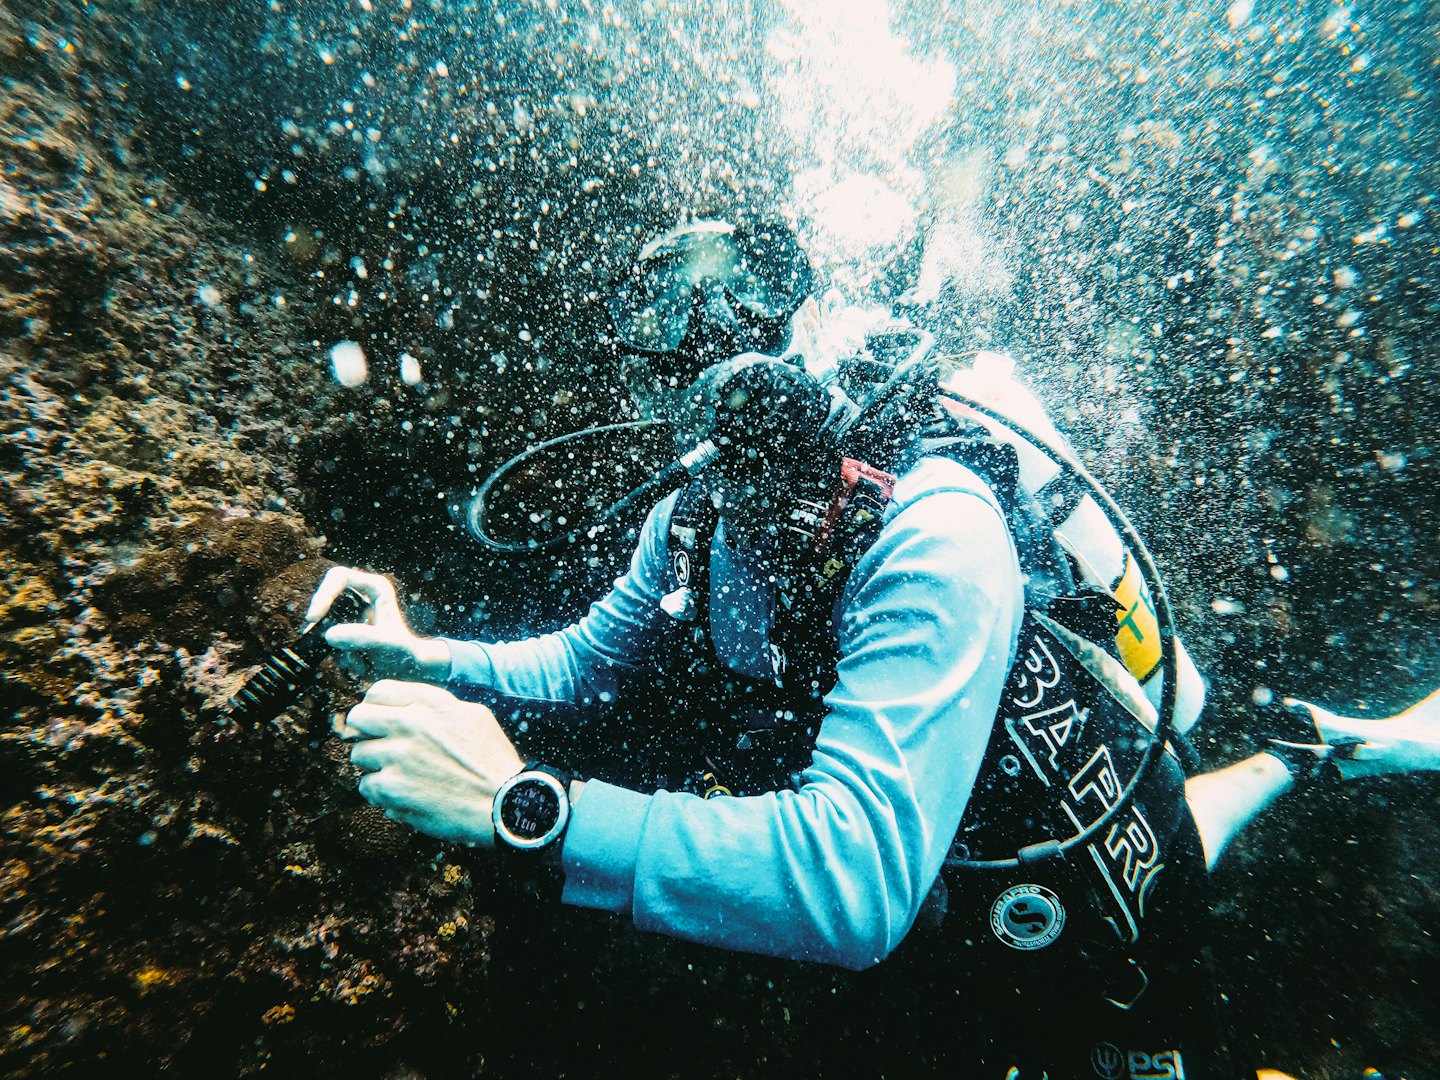
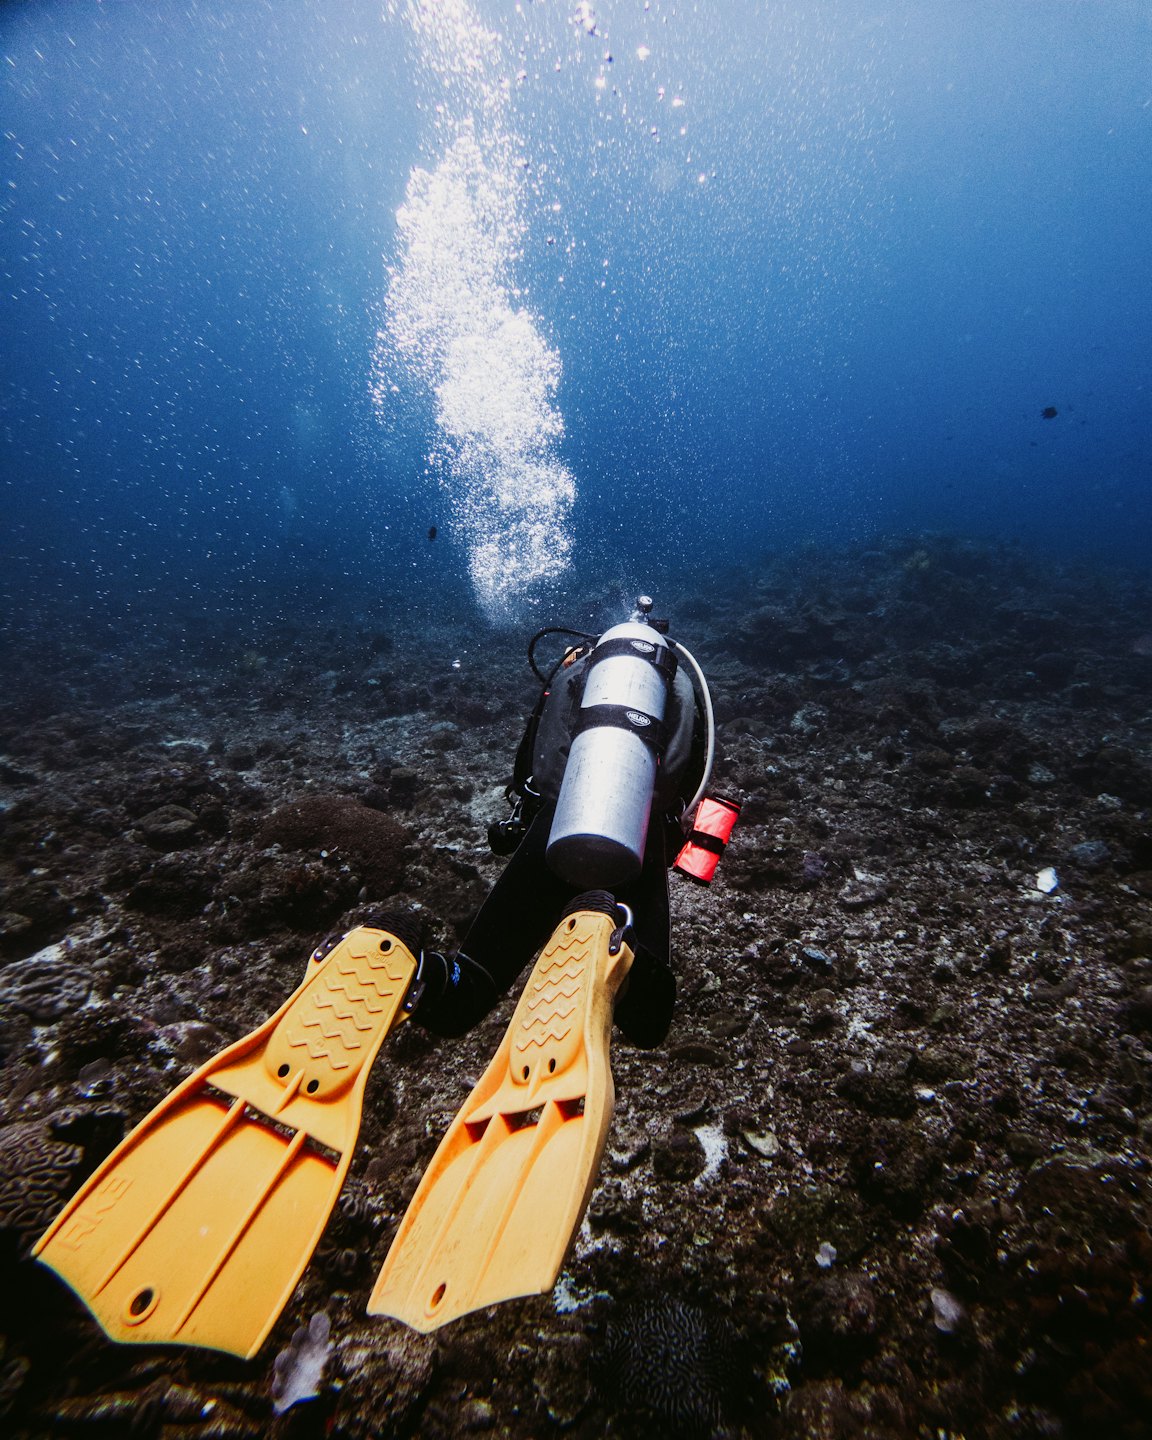
In the UK, where silt and salt work together to destroy moving parts, you cannot wait for a failure. You must predict it. Here is the 60-second health check for your hardware.
1. The “Crunch” Test (Audible Diagnosis)
You can hear a failing clip before you can see it.
- The Action: Hold the clip close to your ear. Pull the trigger back and release it slowly.
- The Pass: Silent, smooth motion.
- The Fail: A “gritty” sound or a sensation of grinding. This means salt crystals or silica (sand) have worked their way into the internal piston chamber.
- The Fix: Soak in hot water and vinegar. If the crunch persists after lubrication, the internal barrel is scored. Bin it.
2. The “Lazy Gate” (Spring Fatigue)
Springs lose their “memory” over time, especially if stored under tension (e.g., clipped onto a thick D-ring for months).
- The Action: Pull the gate back fully and release it gently (don’t let it snap).
- The Pass: The gate returns fully to the closed position, touching the hook.
- The Fail: The gate stops 1mm–2mm short of the hook, leaving a tiny gap.
- The Danger: That tiny gap is a line trap. Fishing line or caveline can slip in, but it won’t slip out. If a gate doesn’t slam shut with authority, the spring is dead.
3. The “Side-Wiggle” (Rivet Wear)
The gate is held by a pin/rivet. Over thousands of cycles, the hole elongates (becomes oval).
- The Action: With the gate closed, try to wobble the trigger mechanism side-to-side.
- The Pass: Minimal movement (tight tolerances).
- The Fail: Significant lateral play.
- The Danger: If the gate wobbles, it can twist sideways under load, jamming the piston against the barrel walls. You will be unable to open the clip when you need to ditch a cylinder.
4. The “Rust Weep” (Internal Corrosion)
Even in 316 Stainless Steel clips, the internal spring is often made of a different steel alloy (high carbon) to maintain its “bounciness.” This spring can rust.
- The Action: Inspect the seam where the sliding piston enters the barrel.
- The Fail: If you see a brown/orange stain “weeping” out from the internal mechanism, the spring is disintegrating. It will snap soon.
- The Rule: External rust on the surface is cosmetic. Internal rust “bleeding” out is terminal.
5. The Magnet Test (Material Verification)
Not all “Marine Grade” clips sold online are genuine AISI 316.
- The Action: Touch a strong magnet to the body of the bolt snap.
- The Result:
- 316 Grade: The magnet should not stick (or have an extremely weak pull).
- 304/Cheap Steel: The magnet will stick firmly.
- Note: The internal spring will be magnetic. Ensure you are testing the solid body loop. If the body is magnetic, it will rust within a month of UK diving.
Summary: When to Retire a Clip?
| Symptom | Diagnosis | Solution |
| Gritty Sound | Internal debris | Soak in vinegar. If noise stays, replace. |
| Gap at closure | Spring fatigue | Immediate disposal. |
| Orange Weeping | Rusted spring | Immediate disposal. |
| Stiff Action | Lack of lube | Apply food-grade silicone grease. |
| Wobbly Gate | Worn rivet | Relegate to “dry land” use (keys) only. |
Discover Essential Bolt Snap Checks
This guide presents vital bolt snap tests to ensure your diving gear remains safe and reliable underwater.


Ensure Your Bolt Snap’s Safety with Simple Checks Today
Discover essential bolt snap health tests to keep your dive gear reliable and safe.
- Crunch Test: Assess the gate’s snap strength
- Lazy Gate Check: Confirm smooth and full closure
- Side-Wiggle Assessment: Detect play and looseness
- Rust Inspection: Identify corrosion risks early
- Material Verification: Confirm corrosion-resistant metals