
Your cart is currently empty!
Bolt Snap Rigging Tips
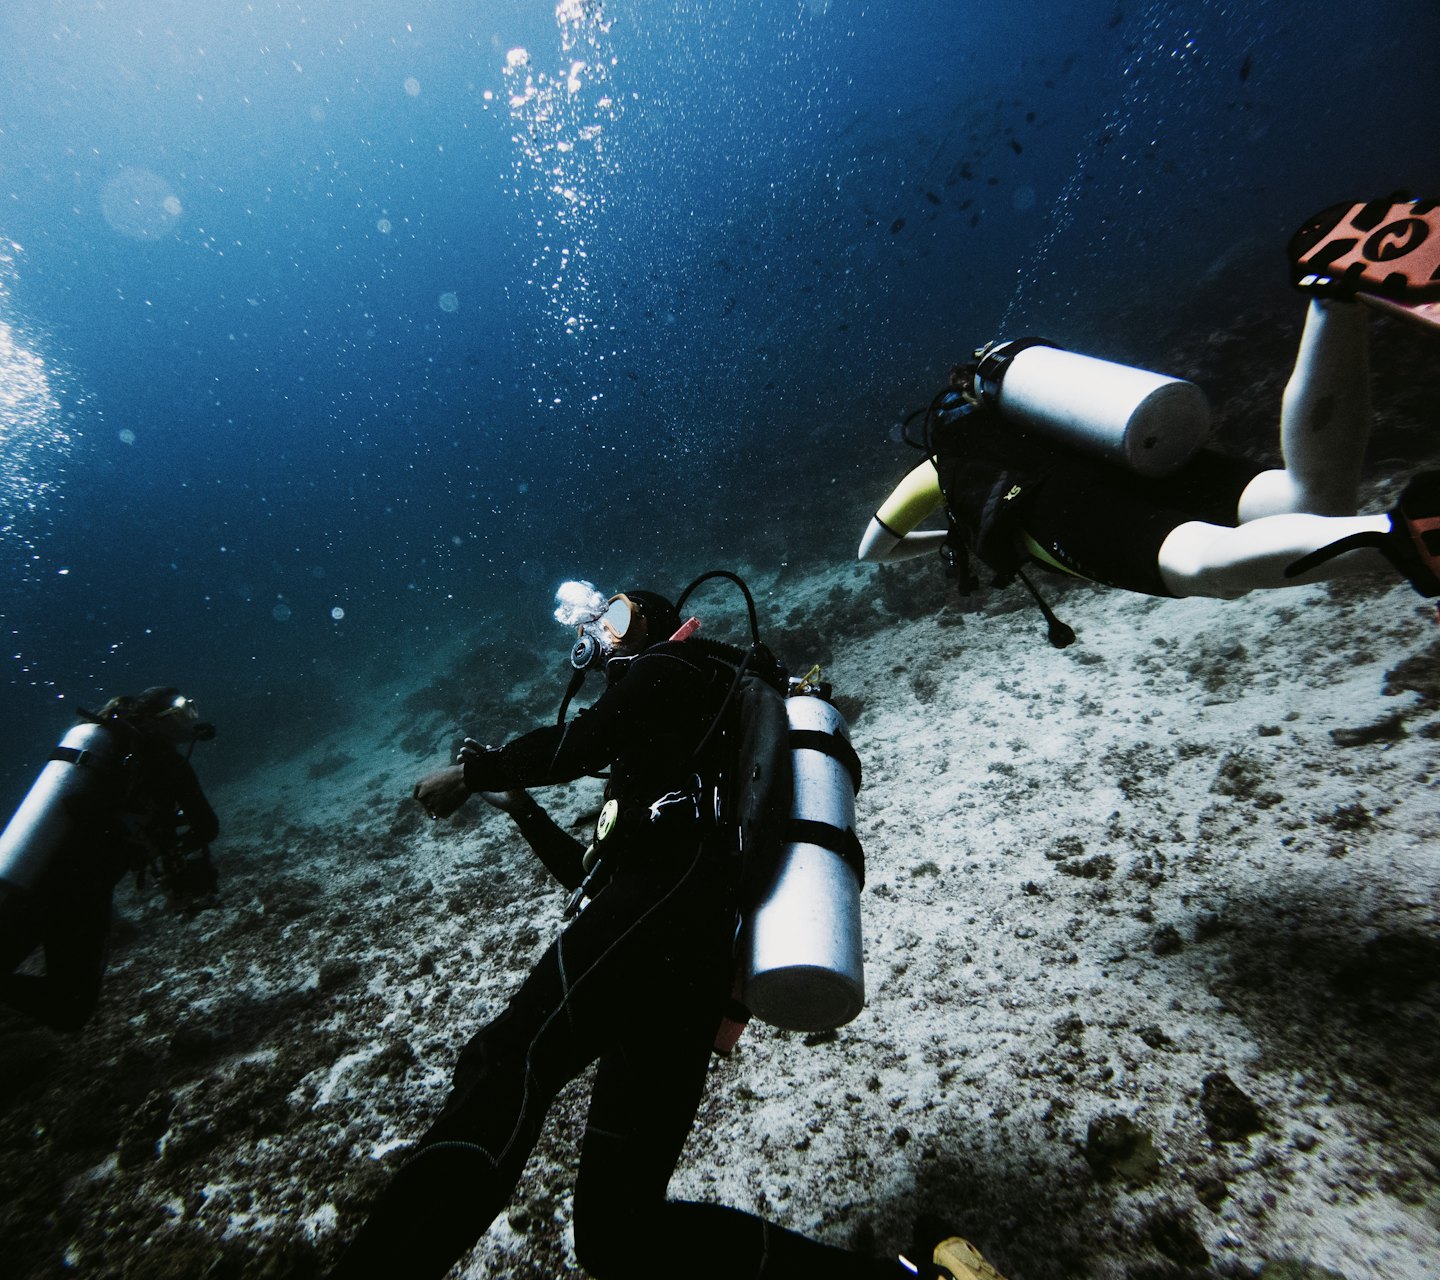
Master Bolt Snap Rigging for Reliable Diving
Discover expert techniques for securely rigging bolt snaps to your diving gear, ensuring lasting performance and safety under the most demanding underwater conditions.

Enhance equipment durability with proper snap alignment
Maintain smooth operation through regular lubrication
Prevent corrosion by choosing marine-grade materials
Secure connections with recommended rigging knots
Rigging Bolt Snaps: Step-by-Step
Discover expert guidance on rigging bolt snaps securely to your diving gear, enhancing reliability and ease of use underwater.

Step One: Preparing Your Equipment
Begin by selecting quality bolt snaps and inspecting your diving gear to ensure compatibility and safety before rigging.

Step Two: Attaching the Snap
Securely connect the bolt snap to your equipment using recommended techniques that maintain durability in harsh conditions.

Step Three: Final Checks
Perform thorough inspections of the rigged bolt snaps to guarantee functionality and prevent failures during dives.
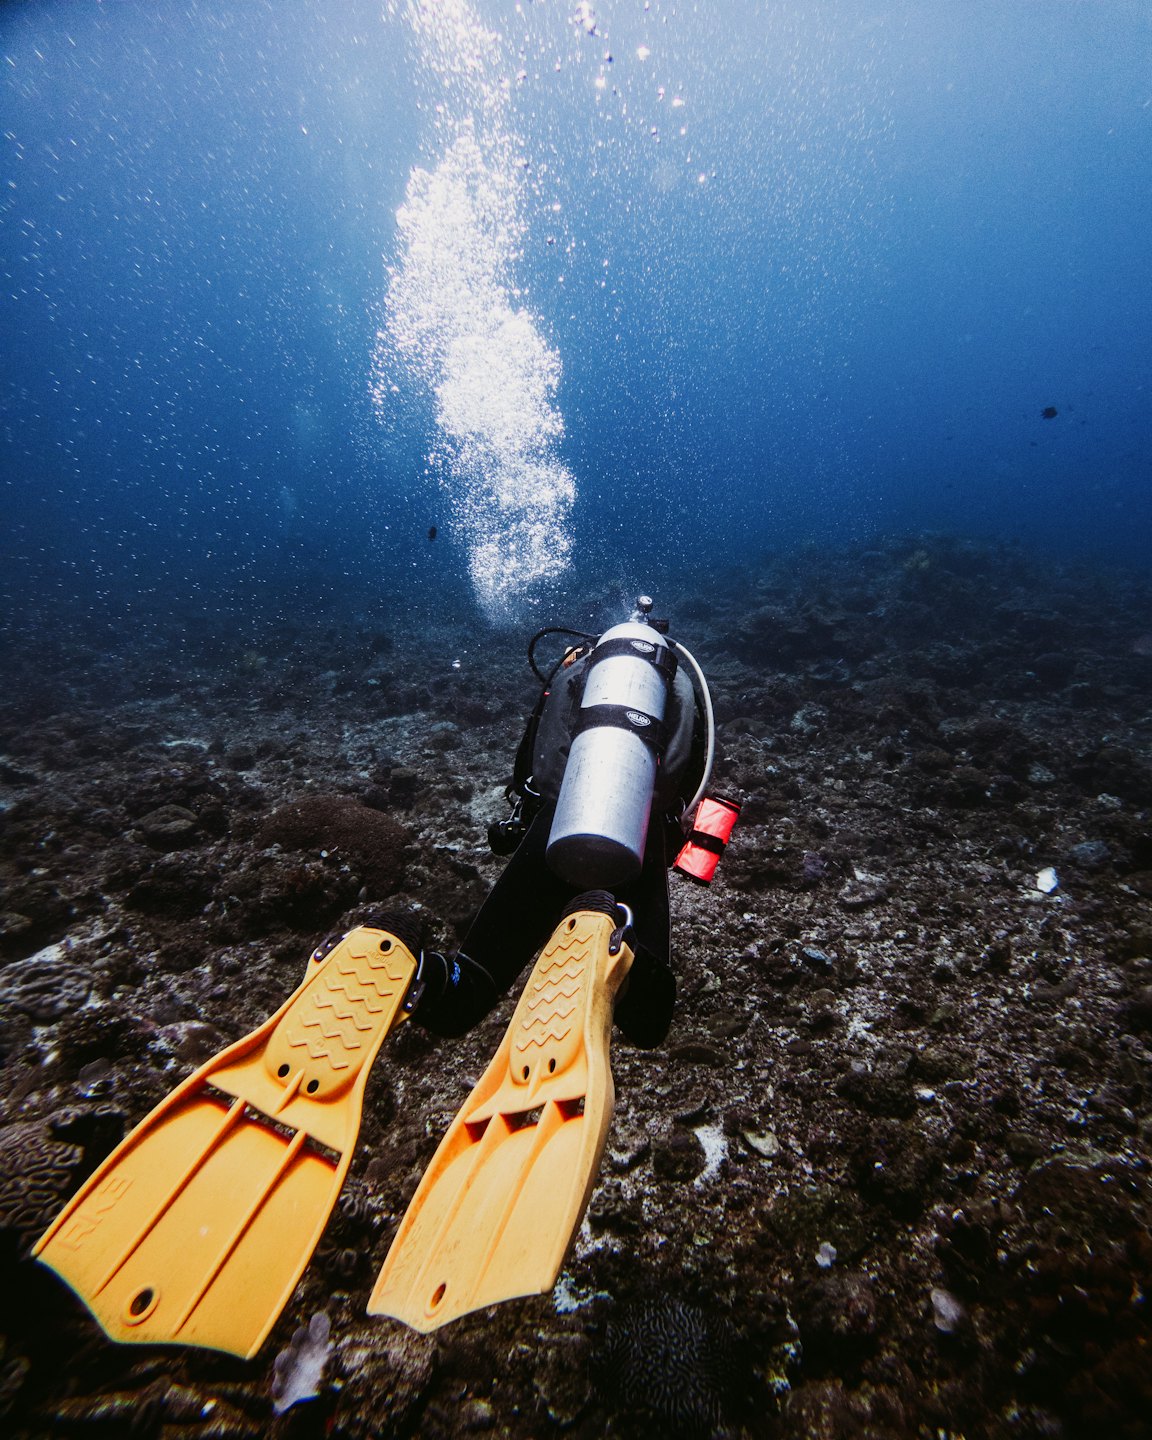
Discover Expert Bolt Snap Rigging Techniques
Dive into a carefully selected set of visuals illustrating professional rigging methods and durable equipment setups.
Master Bolt Snap Rigging Techniques
Explore expert tips and detailed guides to perfect your bolt snap rigging skills.

Basic Rigging Principles
Understand key fundamentals to secure your gear effectively and safely.
Advanced Rigging Methods
Discover innovative techniques for durability and performance in tough diving conditions.
Maintenance & Troubleshooting
Learn how to maintain your rigging and resolve common issues efficiently.
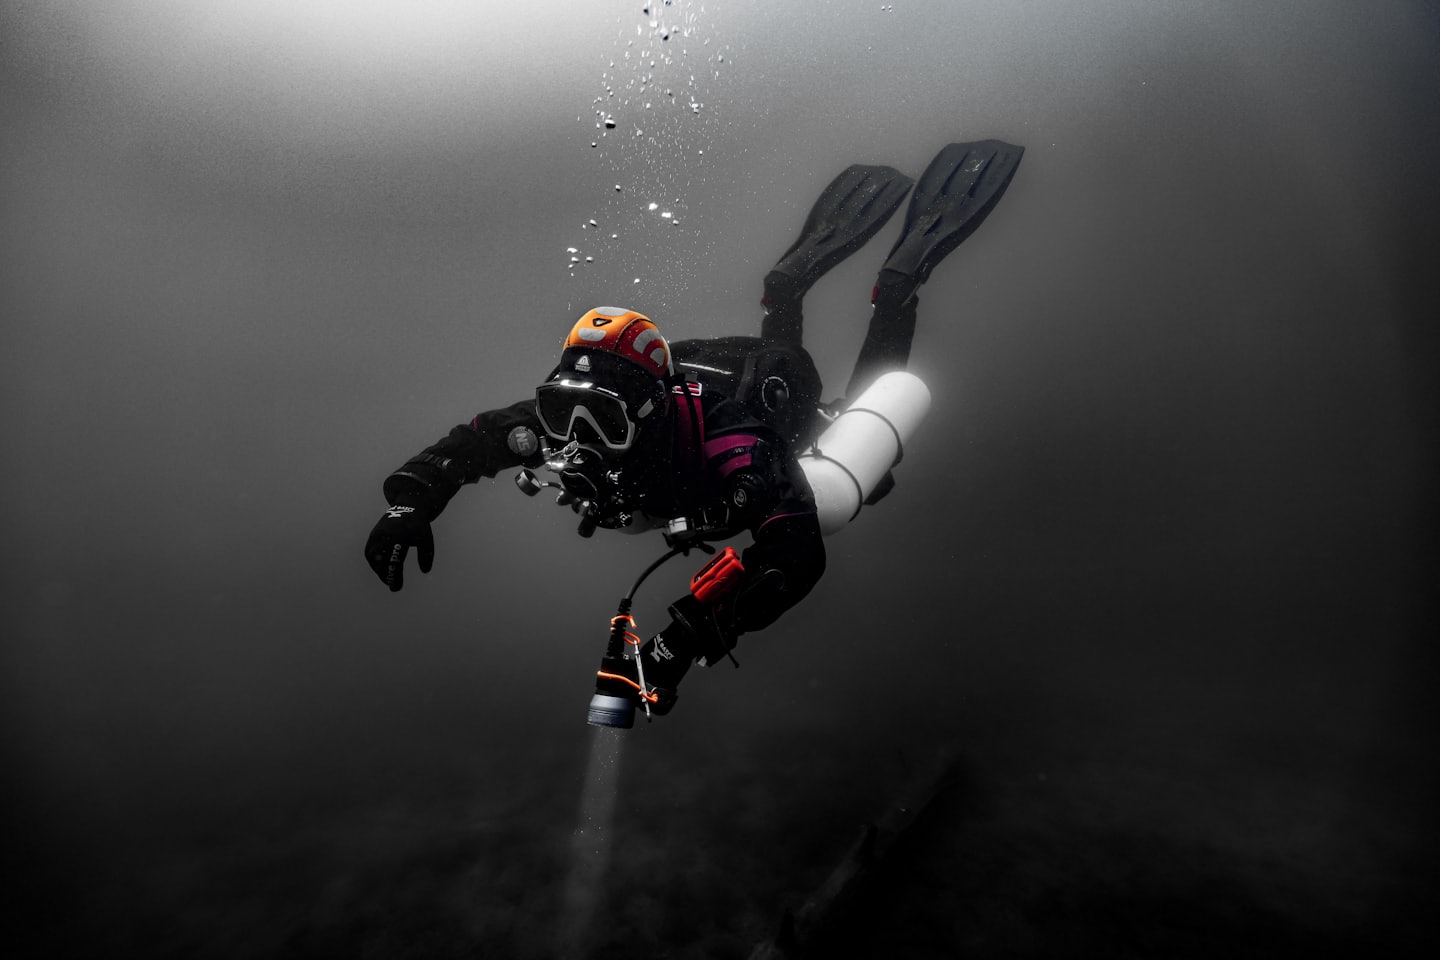
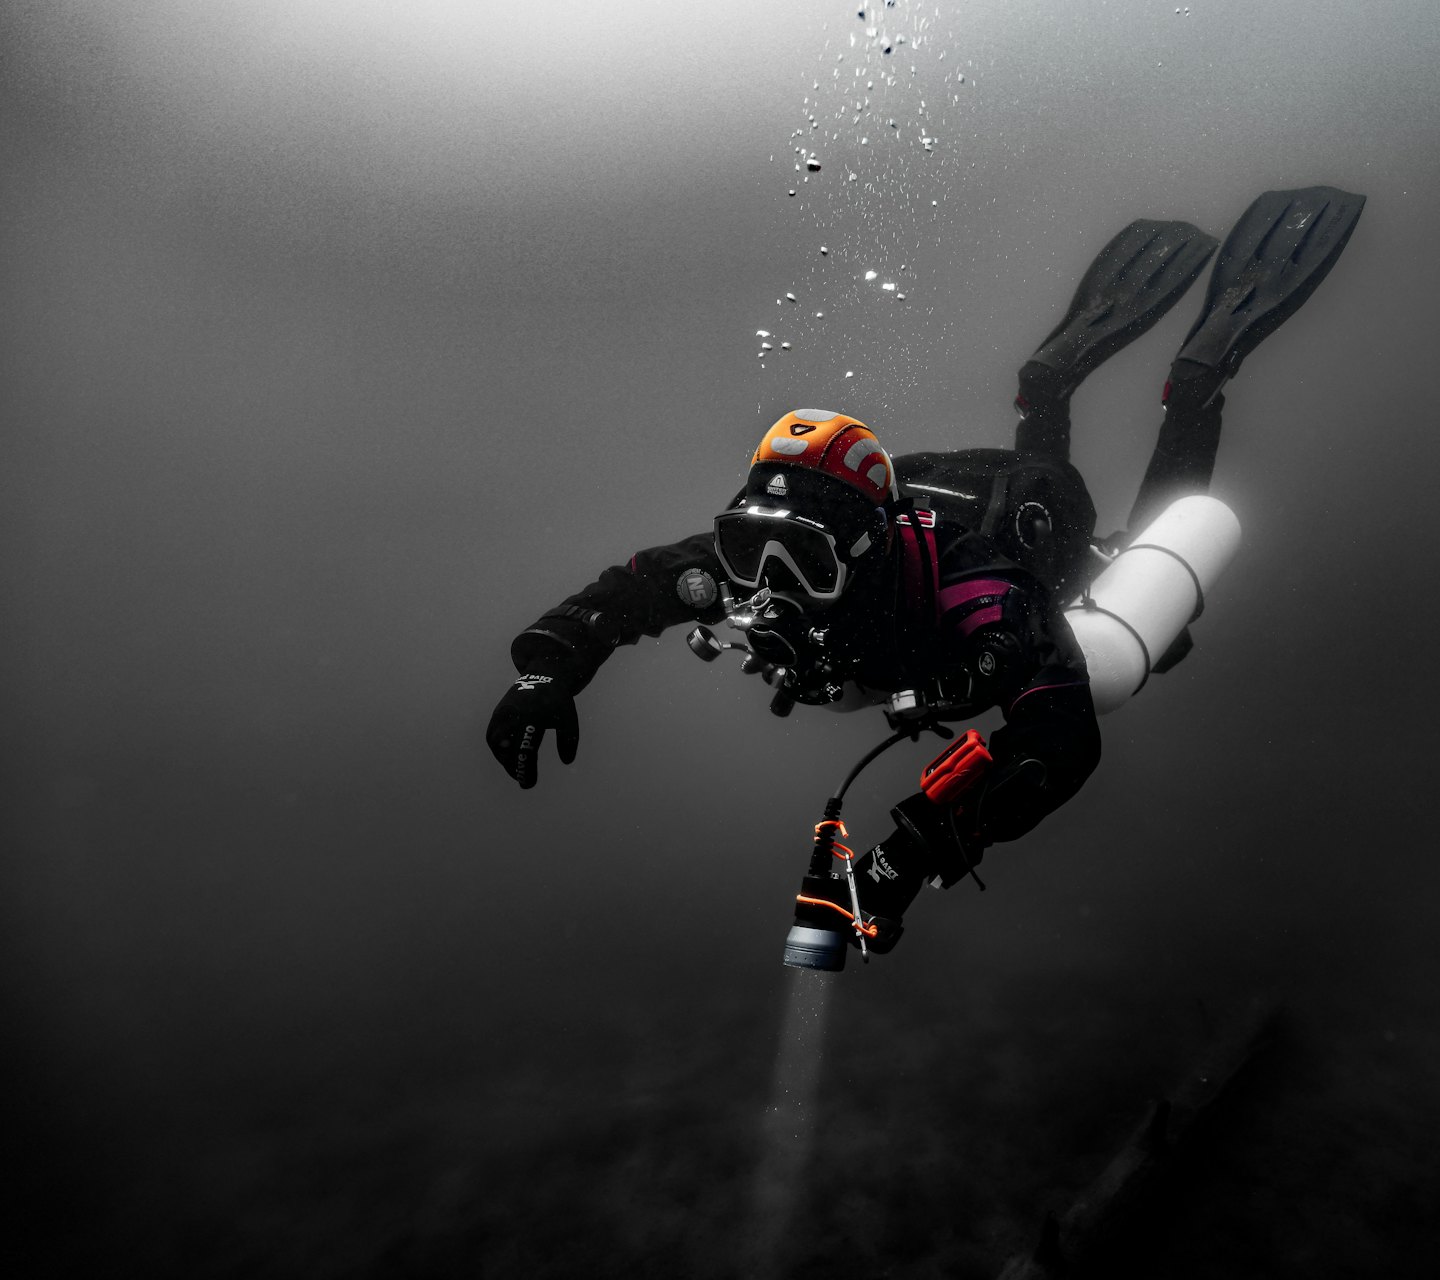
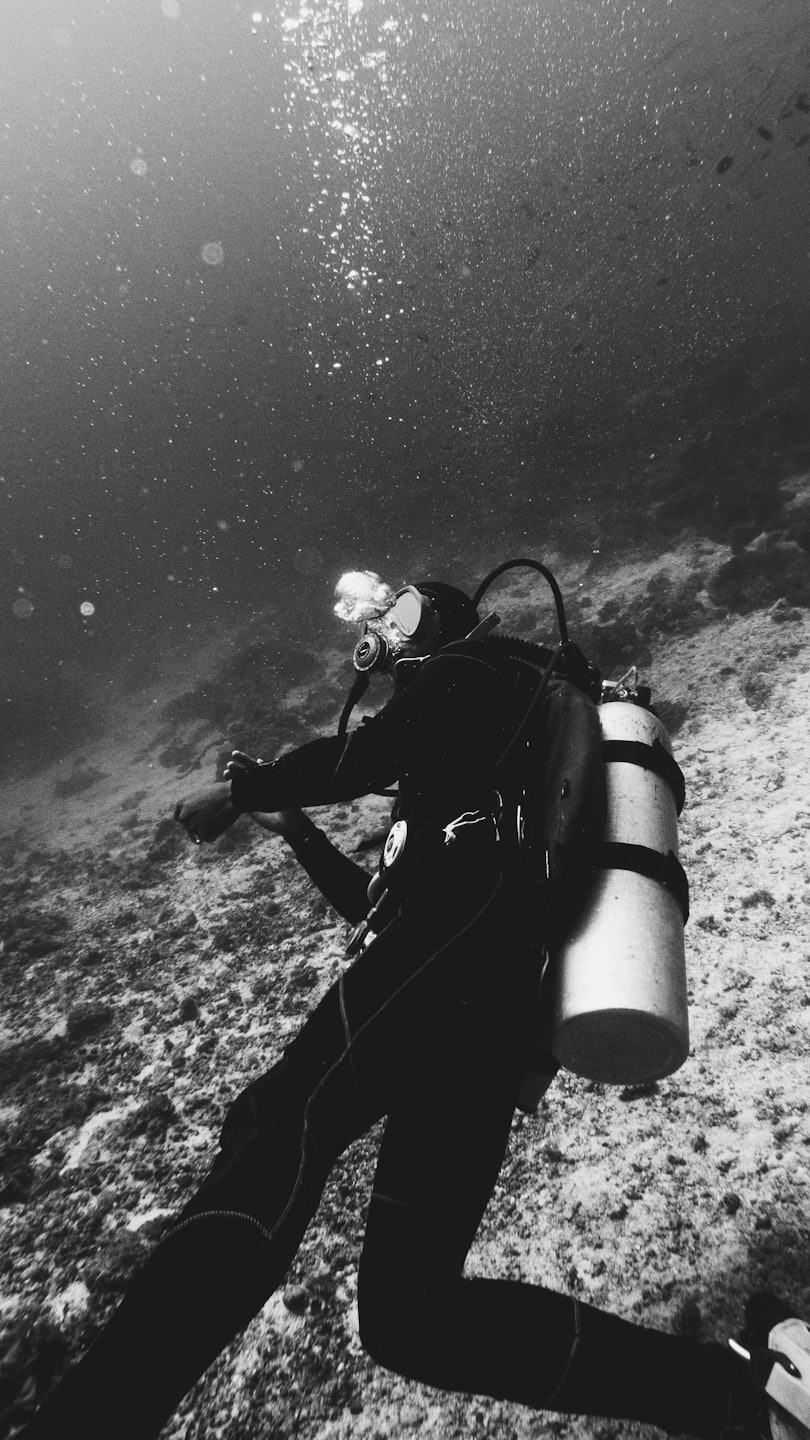
The UK Diver’s Guide to Streamlining: Accessories & Hardware
Top Tips: How to Rig Your Bolt Snaps Like a Pro
The difference between a clip that flops around and one that snaps onto a D-ring first time—even with 5mm crushed neoprene gloves—is the rigging.
Many divers resort to cable ties (zip ties) or metal split-rings. Do not do this.
- Zip Ties: Become brittle in cold water, leave razor-sharp edges when cut (which slice neck seals and drysuit cuffs), and snap when gear gets torqued.
- Metal Split Rings: Creates a “metal-on-metal” connection that binds, wears through brass swivels, and offers zero flexibility.
The professional standard is #24 Braided Nylon Line (Cave Line). It is rot-proof, holds knots securely, and provides just enough flex to prevent gear breakage.
1. The Setup: “Tight & Tidy”
The goal is a connection that is short and semi-rigid. When you hold the hose/gauge, the bolt snap should “stand up” on its own, rather than flopping over. This makes it infinitely easier to clip off when your hands are numb.
Materials:
- 316 Stainless Bolt Snap (Large swivel eye).
- #24 Cave Line (White or black).
- Scissors/Knife.
- Lighter.
- (Optional) Superglue.
2. The Step-by-Step Rigging Guide
Step 1: The Three-Pass Loop
Thread the line through the hose swivel (or light head) and the eye of the bolt snap.
- Do not just do one loop. Pass the line through both items three times.
- Why? This creates a thick “core” of line. It stops the clip from sliding around the loop and provides the rigidity needed for one-handed operation.
Step 2: The Tension
Before knotting, pull the ends tight. The bolt snap and the object should be pulled close together—touching, or with max 2-3mm of separation.
- If it’s too loose: The clip will dangle and rotate, making it hard to grab.
- If it’s too tight: The clip won’t rotate enough to lie flat against your body.
Step 3: The Knot (Reef Knot / Square Knot)
Tie a standard Reef Knot (Right over Left, Left over Right).
- Pull it extremely tight. You want the knot to bury itself into the grooves of the three-pass loop you created in Step 1.
- Pro Tip: If you have a second pair of hands (or pliers), have them pull the clip and object apart while you tighten the knot to remove all slack.
Step 4: The Cut & Burn (The Seal)
Cut the excess line, leaving about 5mm (1/4 inch) of “tag end.”
- The Burn: Use the lighter to melt the tag ends.
- The Mushroom: Before the plastic cools, press the flat side of the lighter (or a wet thumb, if you’re brave) against the molten blob to flatten it into a “mushroom” cap.
- Why? This plastic mushroom cap is wider than the knot, mechanically preventing it from ever untying.
Step 5: The “Belt & Braces” (Optional)
Add a single drop of Superglue (Cyanoacrylate) to the center of the knot. This permeates the nylon fibers and essentially welds the knot into a solid block of plastic.
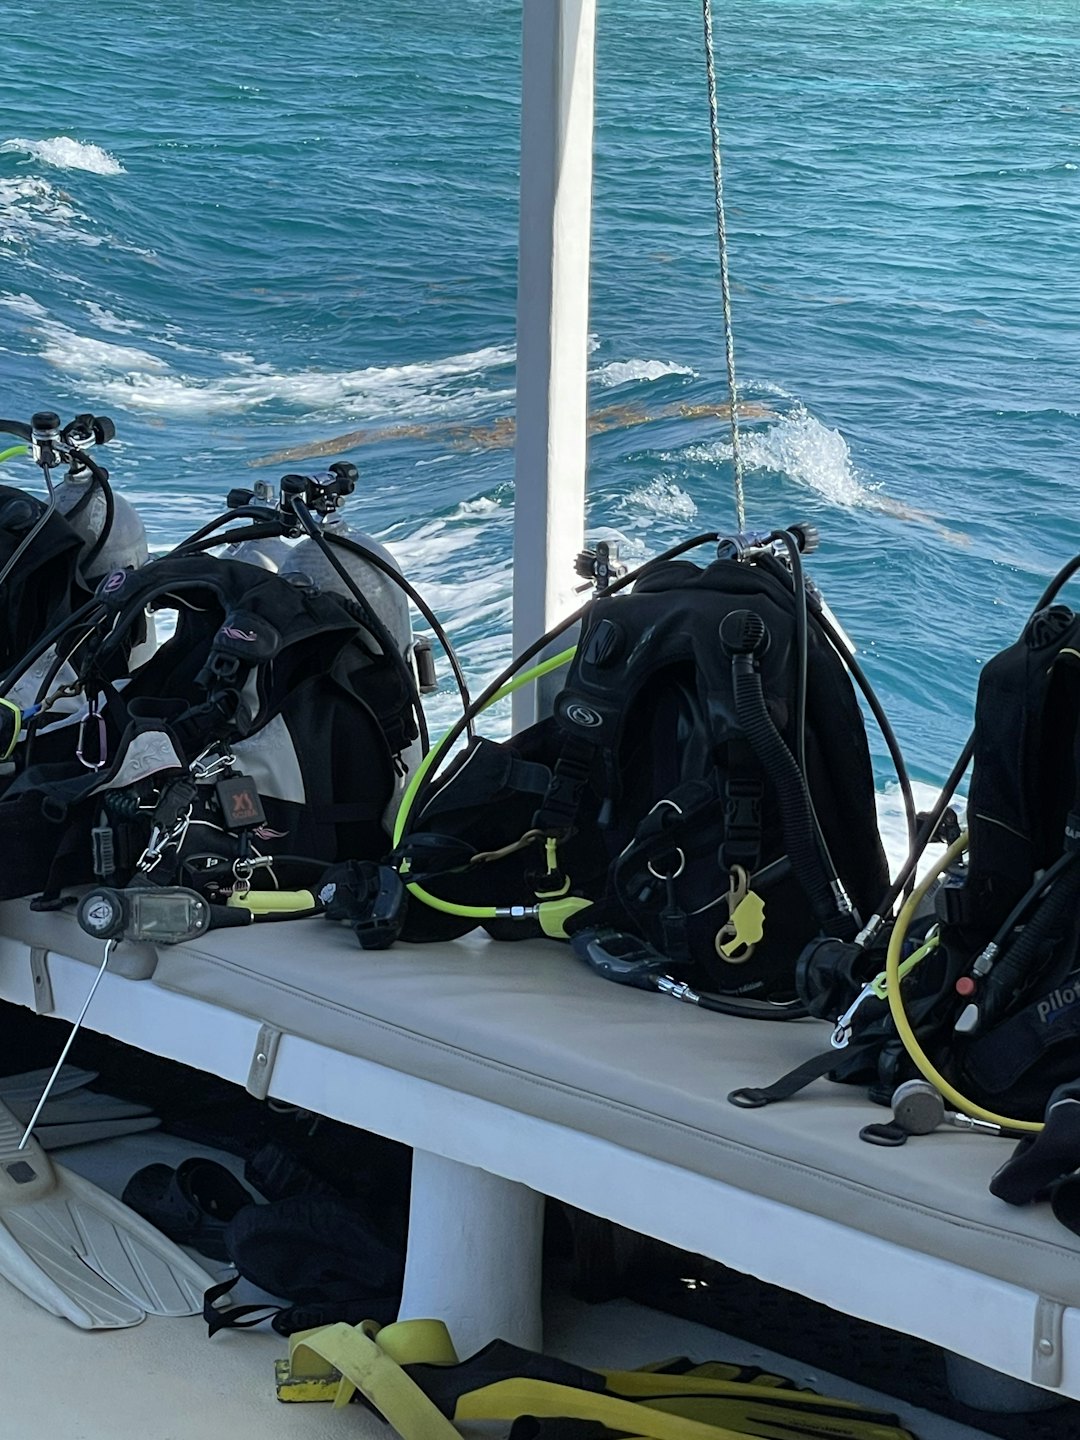
3. What to Rig (and What NOT to Rig)
| Gear Item | Rigging Style | Note for Drysuit Divers |
| SPG (High Pressure Hose) | Cave Line | Tie it tight so the clip faces outward when the gauge is flat. This ensures it clips effortlessly to your hip D-ring. |
| Backup Light | Cave Line | Tie to the rear of the light. If you tie to the front, the light hangs beam-down and drags; tie to the back, and it streamlines along the harness. |
| Long Hose Regulator | Break-Away Connector | DO NOT use cave line here. If the bolt snap jams, you must be able to rip the regulator free. Use a rubber O-ring or a designated “break-away” clip. |
| Wetnotes | Bungee | Use 3mm bungee instead of cave line for items inside pockets; it’s easier to manipulate blindly. |
4. The Safety Check
Once a season, or before a major trip (like Scapa Flow):
- Twist Test: Twist the bolt snap. If the line is frayed or white fuzz appears, cut it and re-tie.
- Corrosion Check: Look at the hidden part of the hose swivel covered by the line. Salt gets trapped here.
Master Bolt Snap Rigging
Discover expert rigging tips that enhance your dive gear’s reliability and safety in every adventure.