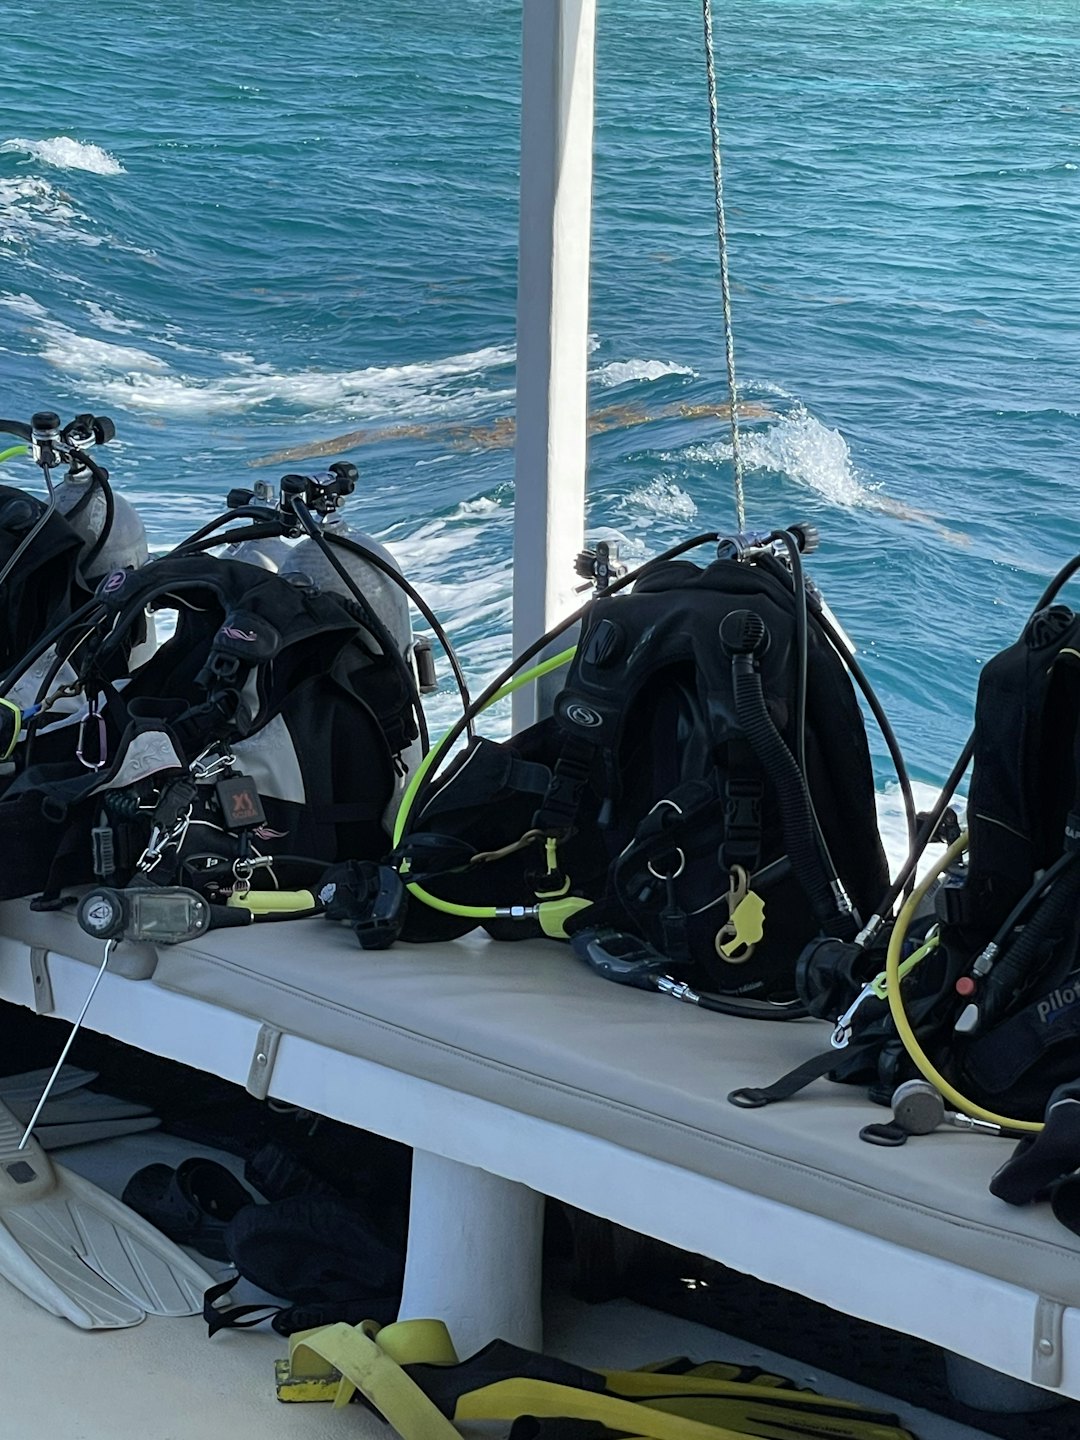
Emergency Drysuit Repairs When You Need Them Most
Explore essential drysuit repair tips that help you fix leaks and tears fast, keeping your dive safe and uninterrupted.

Quick Patch Kits On Hand
Carry compact repair kits designed for immediate sealing of punctures and tears, so your dive isn’t cut short.

Seam and Valve Fix Techniques
Learn effective methods to temporarily repair seams and valves, ensuring your drysuit remains watertight on-site.

Preventative Maintenance Advice
Follow expert guidance to spot weak points early and apply quick fixes that prevent major suit failures underwater.

Emergency Drysuit Repairs
Learn essential techniques to quickly fix leaks and tears on your drysuit at the dive site, ensuring safety and uninterrupted diving adventures.
1
Step One: Assess the Damage
Carefully inspect your drysuit to identify the location and extent of leaks or tears before starting any repair work.
2
Step Two: Perform Temporary Repairs
Use recommended repair kits or patches to seal the damage quickly, prioritizing safety and durability for continued diving.
3
Step Three: Test and Secure
After repairs, test the drysuit for leaks and ensure all patches are secure before resuming your dive activities safely.
Master Emergency Drysuit Repairs
Explore essential tips and techniques to quickly fix drysuit leaks or tears while diving, ensuring safety and continuity underwater.

Identifying Leaks
Learn how to detect and assess drysuit damage to address problems before they worsen during your dive.
On-site Repair Kits
Discover what tools and materials to carry for effective emergency drysuit repairs at any dive location.
Quick Fix Techniques
Step-by-step guidance to patch holes and reinforce weak spots, keeping you safe during your dive.
Master Emergency Drysuit Repairs
Essential tips to fix drysuits quickly on-site.
Quick Leak Detection
Identify leaks fast to prevent water ingress underwater.
Temporary Patch Solutions
Use reliable kits to seal tears and holes instantly.
Proper Tool Usage
Select and apply tools safely for effective repairs.
Safety Precautions
Follow steps to ensure safe diving post-repair.
The UK Garage Guide: Bulletproofing Gear Against Salt, Grit, and Rot
Recommendations: Fixing a Leaky Drysuit at the Dive Site
You are in the car park at Stoney Cove, it is 5°C, and you have just discovered a tear in your suit. The choices are: go home miserable, or perform emergency surgery.
Standard repairs (like normal Aquasure) take 24 hours to cure. That is useless for “saving the day.” To dive now, you need rapid-cure techniques and mechanical patches.
1. The “Magic” Chemicals: Speeding Up the Cure
If you use standard urethane glue (Aquasure/Aquaseal) straight from the tube, you cannot dive for a day.
- The Accelerator (Cotol-240): This is the secret weapon. Mixing Aquasure with Cotol-240 (a hardening agent/cleaner) cuts the cure time from 24 hours to 2 hours.
- The Strategy: If you find the leak before the first dive, mix and apply immediately. By the time you’ve had a bacon sandwich and a long surface interval, it might be tacky but diveable.
- UV-Cure Wader Repair: Originally for fly fishermen. It applies like a gel but hardens instantly when exposed to UV light (sunlight or a UV torch).
- The Catch: It is brittle. It works for small pinholes on the trilaminate fabric, but it will crack if used on a flexible latex seal.
2. The Physical Patch: “Tuff Tape” (Stormsure)
This is the single most valuable item in a UK save-a-dive kit. It is a clear, incredibly sticky, elastic polyurethane tape.
- Why it wins: It requires zero drying time.
- The Method:
- Dry the area: Use a towel or the car heater vents. The tape will not stick to damp fabric.
- Clean it: Use an alcohol wipe (or a splash of acetone if you have it) to remove grease/wax.
- Round the corners: Cut a patch and round the corners with scissors (square corners peel up).
- Stick and rub: Apply firmly. Use a metal spoon or the back of a knife to rub the tape aggressively against a flat surface. The friction heat activates the glue.
- Dive immediately.
3. The Latex Seal Split: The “Walking Wounded”
A torn neck or wrist seal usually ends the dive, but there are desperate measures for desperate times.
- The “Reverse” Duct Tape (Wrist): If you have a clean split on a wrist seal:
- Put the seal on your wrist.
- Wrap high-quality Gaffer/Duct tape around the split, overlapping onto your skin slightly.
- Warning: This will leak a bit, and removing it will pull the hair off your arm, but it will prevent a catastrophic flood.
- The “Trim Back” (Cone Seals): Most latex seals are cone-shaped. If the split is at the very edge (the opening), use sharp scissors to trim a clean 5mm ring off the end of the seal. This removes the split and leaves a fresh edge.
- Caution: This makes the seal tighter.
4. The Leaking Valve: The “Grit flush”
If your inflation valve or dump valve is trickling water, it is almost certainly a grain of quarry grit caught in the seating.
- Do Not Disassemble: Never take a valve apart in a gravel car park. You will lose a spring or O-ring.
- The Fix:
- Pour a bottle of water into the valve while aggressively pushing the button/operating the dump.
- Blow compressed air (from your inflator hose) into the mechanism to blast the grit out.
⚠️ Safety Warning: When to Abort
Never prioritize a dive over hypothermia. You can tolerate a damp arm in the summer. In winter:
- Torso Leaks: If the leak is in the chest/back (where your vital organs are), abort the dive. Wet undersuits lose insulation, and cold water shock is real.
- Electrical Hazard: If you use a heated vest and have a leak, disconnect the battery immediately. Saltwater + Electricity + Skin = Chemical burns.
The “Car Park Surgeon” Kit Checklist
Don’t rely on the dive shop being open. Keep this small ziplock bag in your car:
- Stormsure Tuff Tape (or Tenacious Tape) – For instant patches.
- Alcohol Wipes – To clean the mud/grease off before taping.
- Sharp Nail Scissors – To trim torn latex seals cleanly.
- Talcum Powder – To stop the repair sticking to the rest of the suit.
- A small UV Torch – If using UV-cure resin on a dull UK day.
Fix Your Drysuit and Dive with Confidence
Learn essential emergency repair techniques to keep your dive safe and enjoyable.
- Quick Leak Patching
- Tear Sealing Tips
- Essential Repair Tools
- On-Site Troubleshooting
- Safety Precautions